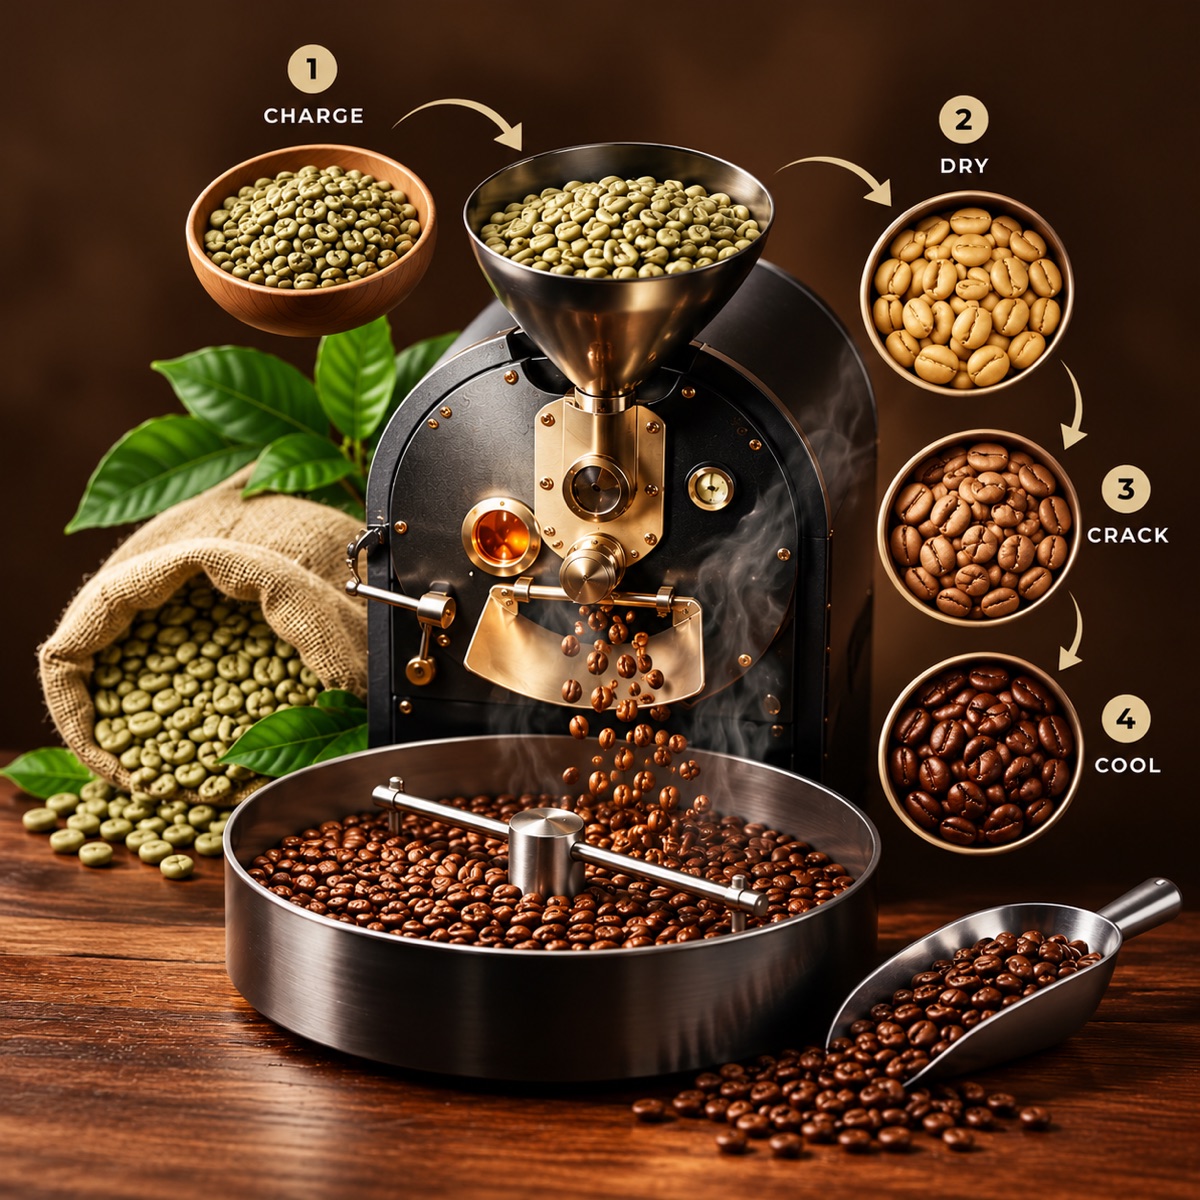
Before you roast: green coffee and equipment
Good roasting starts before the roaster is switched on. Check the green coffee: moisture (about 10–12%), size, density and processing, because these decide how fast the beans take heat. See density and moisture and moisture levels. Make sure the roaster, chaff collector and exhaust are clean, probes are working and the cooling tray is ready. Always follow your roaster manufacturer’s safety instructions.
- Weigh a consistent batch each time.
- Record ambient temperature and humidity. See roasting in Malaysia.
- Decide your target: roast level, profile and brew method.
Step 1: preheat the roaster
Preheat until the roaster is thermally stable. A roaster that is still heating up gives different results from one that has soaked. Use the same preheat routine and charge temperature for comparable roasts. Charge temperature depends on your machine, batch size and bean density, so use your manufacturer’s guidance and your own logs.
Step 2: charge the beans
Load the beans into the drum or chamber and start your timer. Bean temperature drops after the charge, then reaches a low point called the turning point before rising again. A very low or very late turning point can signal too little heat or too large a batch. Read bean temperature vs environmental temperature.
Step 3: dry the beans
During drying the green beans lose moisture and turn from green to yellow. The smell shifts from grassy to hay-like. Apply enough heat to keep the rate of rise moving, but avoid scorching the surface. See rate of rise.
Step 4: Maillard browning
As beans pass about 150 °C they brown and develop sweetness and aroma. Aim for a steady, gently declining rate of rise so the reaction continues smoothly. Stalling here can create flat, baked flavours. See roast profiles explained.
Step 5: first crack and development
First crack, a popping sound at around 196 °C, shows the beans are expanding and releasing steam. The time between first crack and drop is the development time. Reduce heat as needed so the roast does not race. See the first to second crack guide and development time ratio.
Step 6: drop and cool
Drop the beans into the cooling tray and cool them quickly, ideally within a few minutes, to stop the roast. Slow cooling continues roasting and can mute flavour. Remove chaff and check the beans for uneven colour, tipping or scorching. See roast defects 101.
Step 7: log, rest and taste
Log charge temperature, turning point, first crack time, drop time, total time, development ratio and weight loss. Rest the coffee, then cup it. See resting roasted coffee and sample roasting for cupping. Change one variable at a time and compare.
Step 8: improve consistency
Repeatable roasting comes from systems: the same preheat, the same batch size, documented profiles and regular cupping. Read the best practices for roasters and the main roasting guide. Start from good green coffee: see how to buy.
FAQ: How to roast green coffee beans
How long should I roast coffee beans?
Typically about 8–15 minutes, depending on roaster, batch size and roast level.
What is the first thing to check before roasting?
Green coffee moisture, density and size, plus a clean, preheated roaster. See moisture levels.
What is the turning point in a roast?
The lowest bean temperature after charging, before the temperature starts to rise again.
When should I drop the beans?
At your planned time or colour, after the target development time following first crack.
Why must I cool beans quickly?
Slow cooling lets the roast continue and can flatten flavour.
How do I make roasts repeatable?
Use the same preheat and batch size, log every roast and change one variable at a time.
Can beginners use this guide?
Yes for the basic process, but follow your roaster’s manual and safety instructions. See home roasting tips.
Where can I buy green coffee to roast in Malaysia?
Scofi supplies green Arabica and Robusta from local stock. See how to buy.
